Friday, October 31, 2014

Rus Norse

This is the outfit that I constructed for Fasching this weekend, by layer.


The under tunic- made out of cream lightweight linen


Dress:  Green medium weight linen with bands of silk dupioni and inkle trim.


The silk was hand stitched into place and the trim was laid over top.  


The coat is heavy weight navy blue wool with a cream linen lining.  The mantle and cuffs are shaved beaver, which I got at Pennsic this year.  The trim is inkle woven from Forbidden Apple Presses.  Eventually I want to get some wider trim of the same color and pattern for the bottom.


Sewing the fur was a huge pain, and I was lucky.  Adam's great grandfather was an incredibly talented tailor and did a lot of work with furs, and Adam inherited some of his tools.  His furrier's knife was incredibly helpful at cutting the leather without making bare spots in the fur.


The Jewelry:  The beads all came from Fire Mountain Gems.  I got a couple assortment packs of glass beads to play with, since there is a huge variety in the colors and patterns on Viking beads.  This is a great resource to help figure out the types and amounts of different beads to create jewelry that's visually "correct."  There's a lot about the clothing and accessories that we don't know, and a lot of liberties are taken, but it's nice to have the existing research broken down in a way that's easy to understand.  The lunula came from Nord Emporium and is strung with amber beads.  The pin is Adam's and came from Raymond's Quiet Press.


Temple band a rings.  The band is just a bit of trim; the rings are jewelry findings.  They don't carry the same weight as some of the really beautiful hand crafted temple rings out there, but they were also only $16 for all six.  

So tomorrow everything gets a trial run and hopefully I can get some pictures of it on an actual body.


Wednesday, October 29, 2014

Quitting

So I started this year's IRCC with the best of intentions, like all projects.  But halfway through July, when I hadn't sewn anything and all my time was being eaten up with mill work because all Adam's time was being eaten up building a house trailer for Pennsic, I started to have my doubts.  When I realized that as soon as I got back from Pennsic, we had a fiber festival to prepare for and I was tired of being stressed... I quit.  Sewing should be fun, not that nightmarish thing you dread.  I save that for trips to the dentist and getting bloodwork done.


But now the festival is done and over and we have Fasching coming up this weekend.  And the weather is supposed to be about 34 degrees, so my normal Pennsic garb of Roman chitons is not going to cut it.  And while I have a decent amount of generic Norse stuff, I had fabric set aside for some nicer winter clothes.  So I've been busy making dresses, jewelry and a coat.  Hopefully with pictures to come.

Wednesday, June 25, 2014

Quick Update


The yarn is finished spinning and is skeined.  I got half of it mordanted and dyed with osage orange and logwood purple.  The other half is waiting for indigo and lac.

And my chemise is done.  Not a very exciting part of the project, as it's a pretty basic camicia.  The sleeves are extra long so hopefully they'll poof through the gown sleeves nicely.  

Sunday, June 15, 2014

A bit of yarn

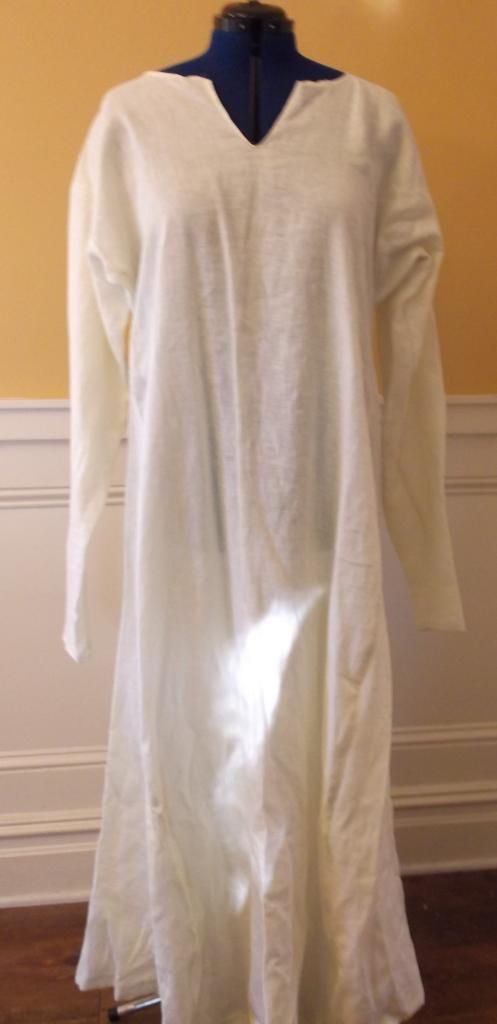
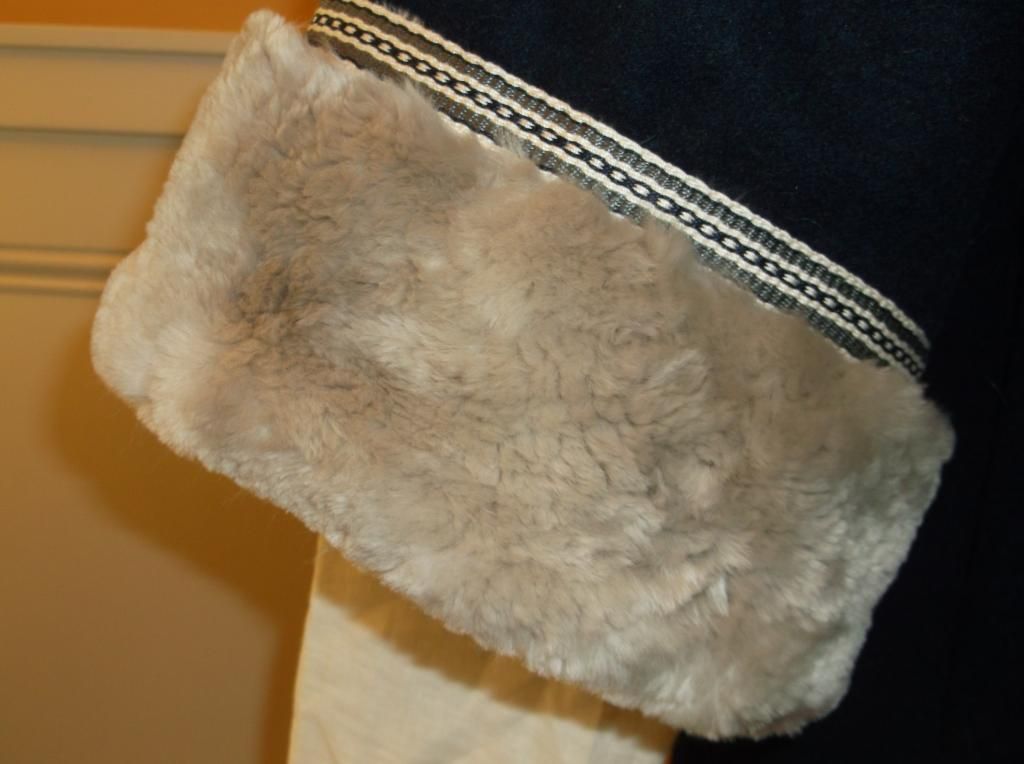
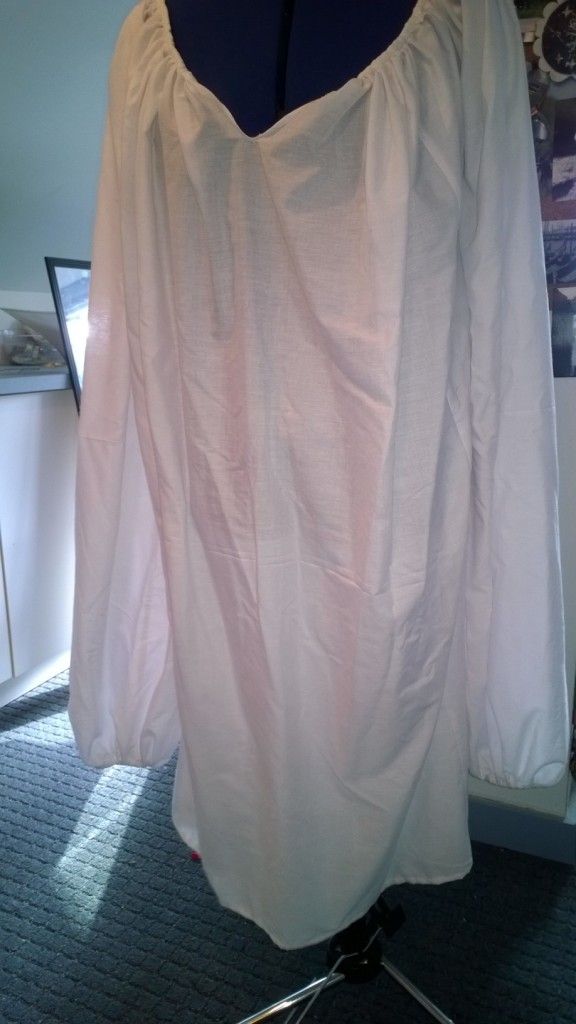
So my very plain camicia is actually done, but the bigger project of this week was getting the yarn to make the knitted stockings.  I know that the holy grail of Italian knit socks is Eleanor of Toledo's burial stockings, but knitting has been depicted in art since 1345.  Given that people have been applying the fiber arts to footwear since at least the fourth century, I don't think it's a huge stretch to assume that humanity didn't just suddenly start knitting socks in the year or two prior to Eleanor's unfortunate demise and she happened to be buried with one of the first sets of hand knit socks, hot off the needles.   Plus, I'm way better at knitting stockings than I am at sewing them.  So I might as well make something I stand a decent chance of wanting to wear again.

In the effort to keep this low cost, buying sock yarn was not in the budget.  And as my typical sock yarn tastes tend toward the wild and colorful, nothing in the stash would work.  However, I actually have a yarn factory in my backyard.  Literally.

We happen to own a cottage sized fiber mill and our day job is processing fiber for local farmers as well as making our own very small batches of yarn and roving.  So while it's not as historically accurate as spending a couple of months drop spinning, plying, skeining and dying, I'm lucky enough to be able to custom make my own yarn for my competition project.

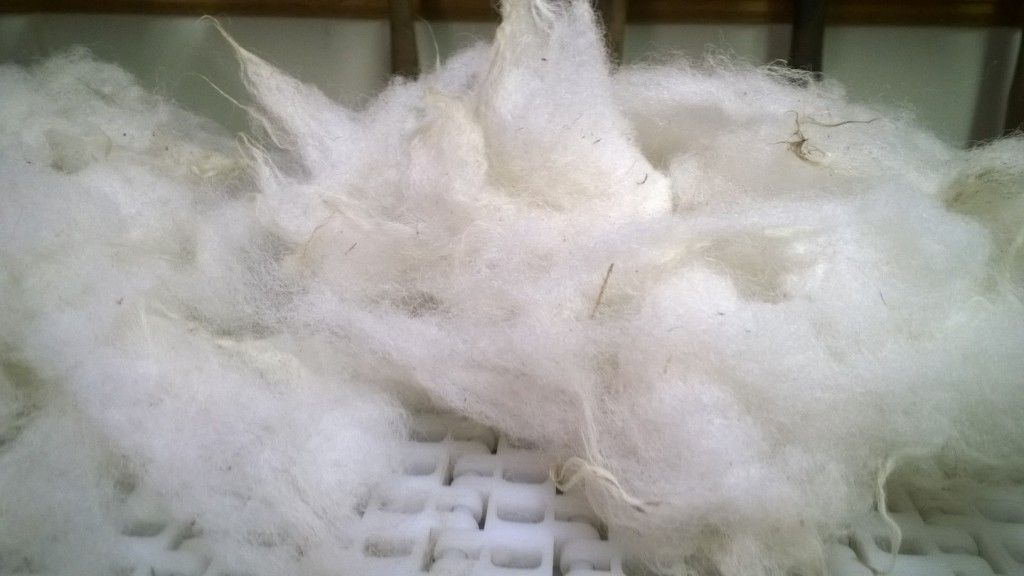
The fiber I picked is from Adam's parent's farm.  They had just sheared a few of their sheep and in exchange for processing some alpaca that his mom wants to work with for her, free of charge, we get the fleeces to turn into yarn for the shop.  This fiber is what you would find on a yarn label under the grand description of "100% wool."  It's a Finn/Jacob/Southdown cross and we added a bit of last year's Romney to it. If the sheep was a dog, it would be one of those Golden Pomer-Labradoodles.  In short, mutt.  It's not very soft fiber at all...

But it scoured out to a very beautiful white.  Great for dying.  So first it gets run through the washing system, which is set to 140 degrees to melt off the lanolin.  It air dries for a day or two, depending on the weather and the humidity in the mill.


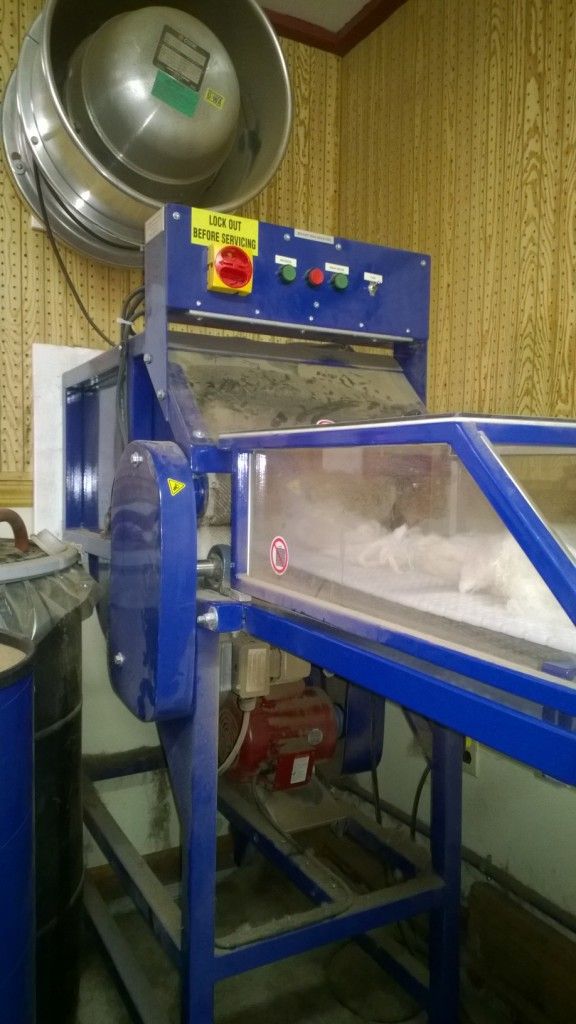
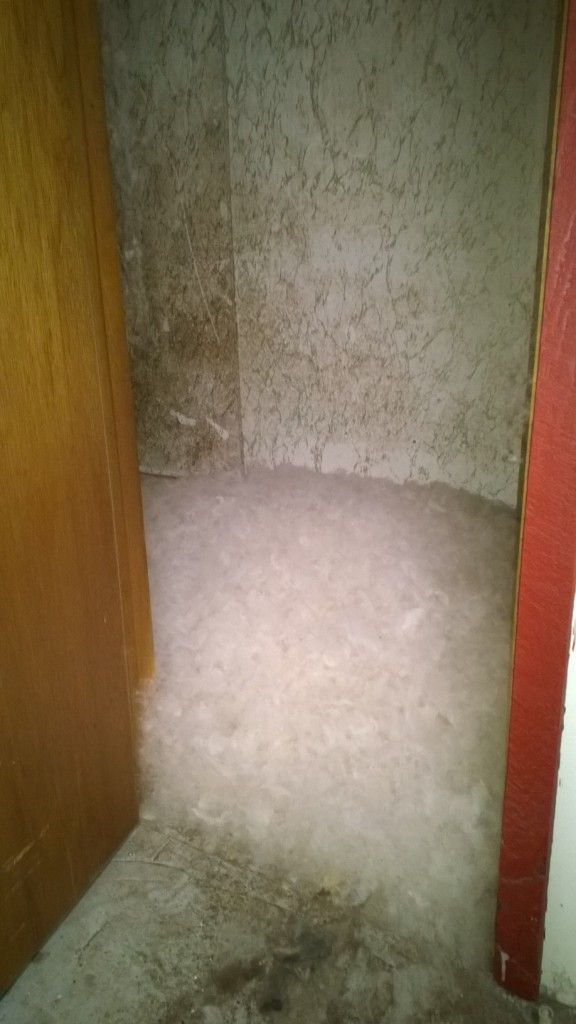
Then it gets run through the picker, which has big teeth that open up the locks.  The opened locks get blown into the picker room.

From there they get gathered up into a basket, and weighed to go onto the carder.  The carder is like a huge version of a drum carder that some fiber artists have at home.  It gets all the fibers going in the same direction.  We weigh out each feed, so that there is the same amount of fiber between each blue line on the belt.  It keeps the machine from jamming up and helps prevent uneven spots in the feed.
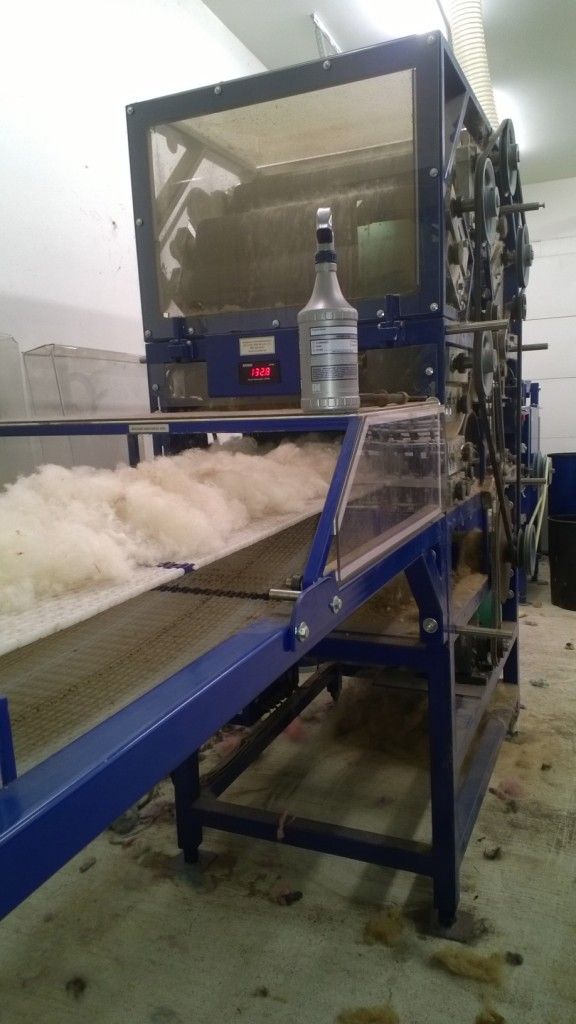
The wool goes in the carder as loose fluff

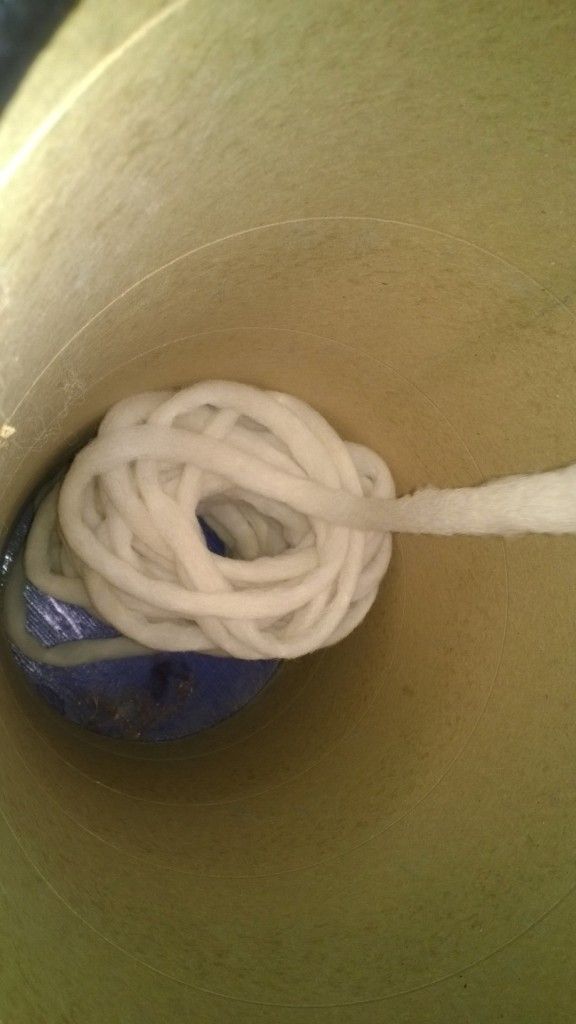
and comes out as orderly roving ropes

that are neatly wound into barrels to make the next two steps easier.


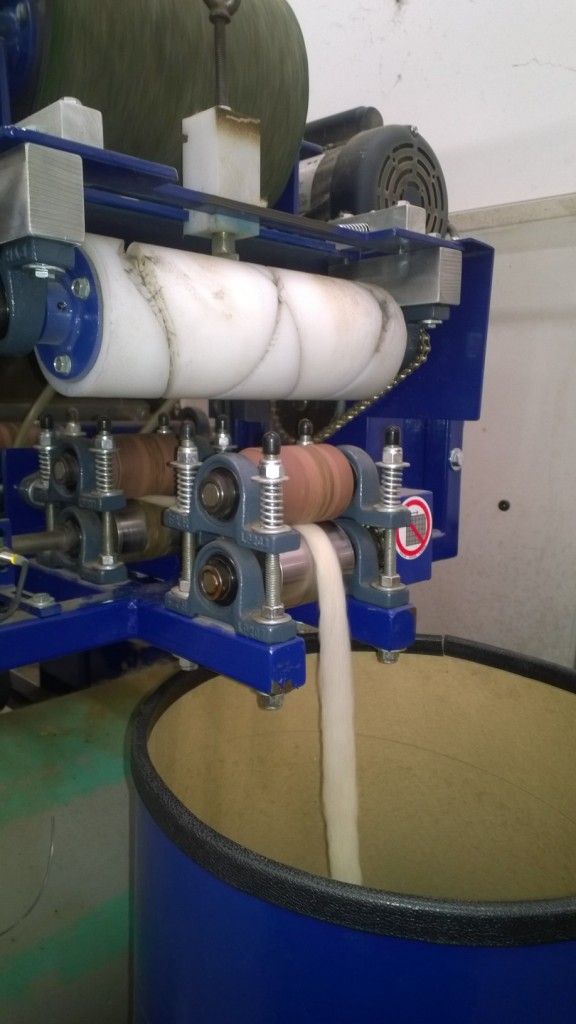
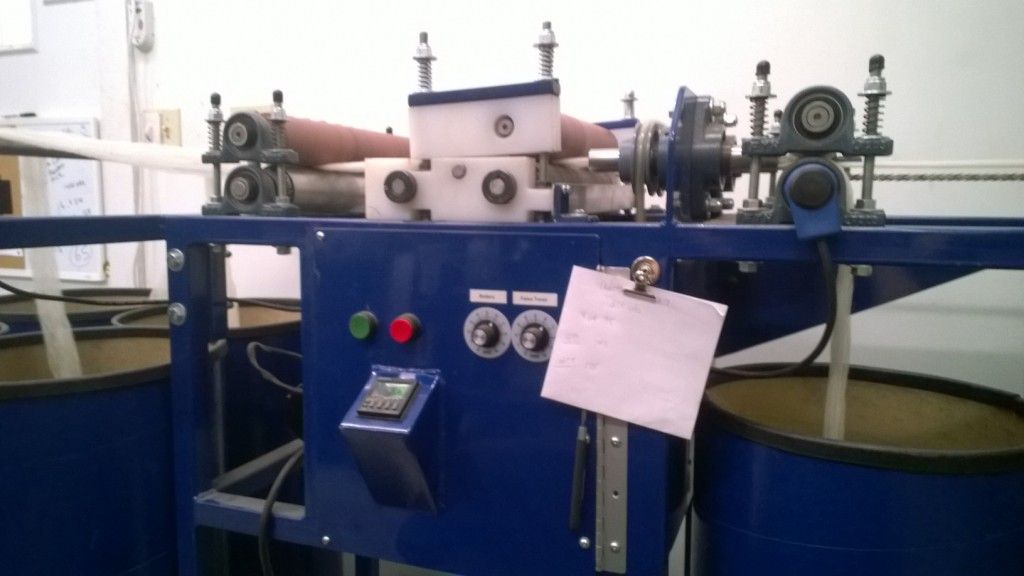
From the carder we run two barrels together into the draw frame.  The first pass through the draw frame helps eliminate any thick or thin spots that might have happened in the carder and stretches the rope about 2.8 times.  The second pass further evens out the fiber for spinning and stretches the rope an additional 2.5 times.

Before I can start spinning, the machine has to be calibrated for length of fiber and the size of the finished yarn I want.  Off the rope that came out of the draw frame, I estimated that I would need to draft the fiber to about 1/10 its original thickness.  I set the twists per inch at about 7.  If the machine isn't calibrated for the right length of fiber by moving all the rollers at the top, it'll either slub and get thick and thin spots, or cyclone and gather into tightly wound "cocoons' of fiber that create a nightmare in the finished yarn.

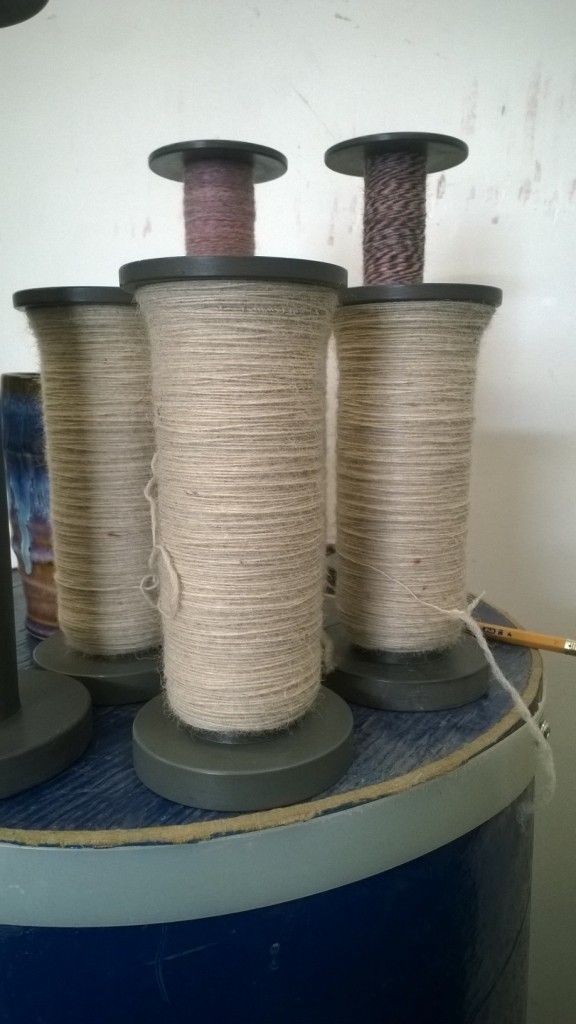
Single plys are wound onto bobbins

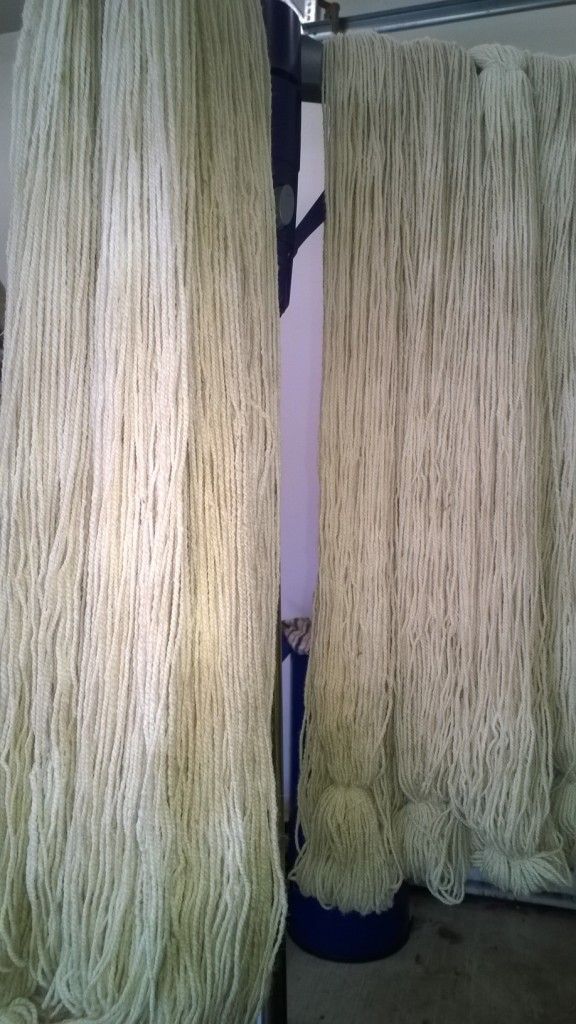
that are spun together in the opposite direction to make a two ply finished yarn.  If I did everything correctly, my finished yarn should be fingering weight.

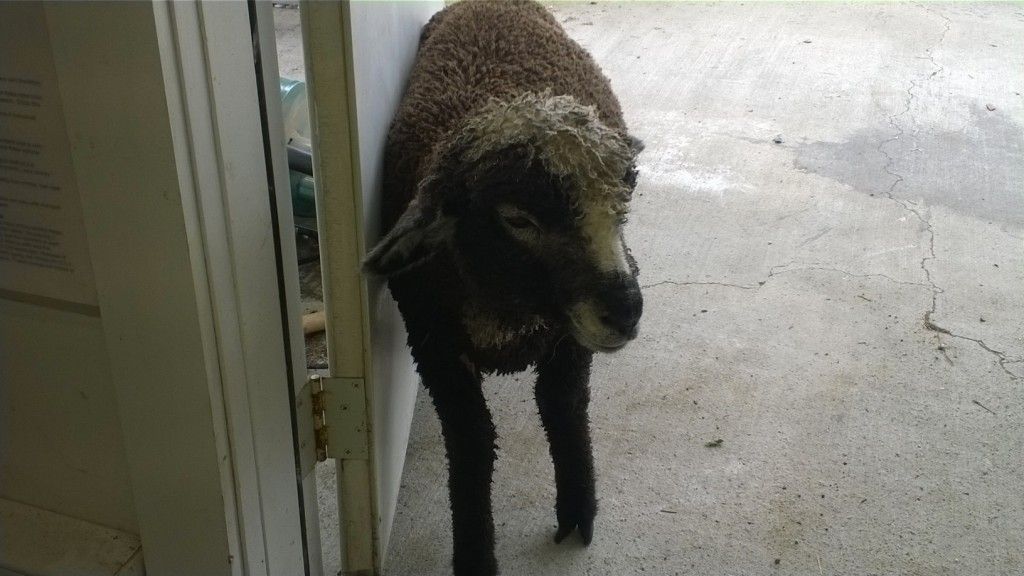
Of course, you have to take a break between machines sometimes to pet Fiona.  It's a very important step in the yarn-making process.  


Friday, June 13, 2014

Getting started

The 2014 IRCC started on June 1 and I realized that I can't update my entry because I haven't even posted about it.

Here's a link to the competition and the rules:
2014 Italian Renaissance Costuming Challenge

I'm planning on a late 15th century Florentine gown.  My additional challenge is that because we're building a roman house trailer for Pennsic this summer, my husband asked me to please please please keep the challenge piece as cheap as possible.  So I'm trying to make do with what's in my stash.  We'll see how that goes.


I found some red and gold brocade, some white brocade and some rose red velvet.  Unfortunately, there's not a whole lot of the white or the velvet, so I'm hoping to piece together my gamurra and have it look like there's very ornate trim, rather than crazy quilt.  Fingers crossed.  The red and gold will become the overgown, whether it gets sleeves or not will remain to be seen.

Layer 1:  Chemise
Layer 2:  Gamurra
Layer 3:  Cioppa
Layer 4:  Hairpiece, knitted stockings (are stockings underwear or accessories?  have to ask), maybe shoes, maybe a fan or a flea fur.


Wednesday, September 4, 2013

Some assembly required

In the last week, the embroidery machine has been doing a lot of this:

It's had a serious workout.  There are 24 designs on whole outfit and I'm at #23.  It's been a lot of thread changes and staring mindlessly at the needle (it's kind of like watching laundry spin in the dryer).

But I think it's been worth it.

Bodice Right Front


Overdress hem (three designs merged)


Bodice back (three designs merged)


Underdress sleeve and Over Gown sleeve.  The panes were three images that were pulled out of larger designs to create the moon cycles.  The cuff is an antler feature.


Starting to come together


I have to bone the bodice and put in the interlining and lining, attach the skirt and shoulder straps and then do the final touches.

Wednesday, August 28, 2013

A little fantasy

With Pennsic and Pennsic sewing over, I really wasn't in the mood to work on anything.  Actually, a week ago I moved everything that had been piled around the house back up to my sewing room, which looks like a bomb was dropped into the middle of it.

But then I woke up Sunday and wanted to make something completely non-historical.  We're going to the Sterling Renaissance Faire in a few weeks and I was excited to just...play.  Make something that hasn't been researched to death.  Embroider something without trying to scour pictures for historical justification.

Actually, I wanted to be an elf.

We were having a lazy Sunday though and didn't want to drive to the nearest Joanns, which is almost an hour away.  So I made do with Walmart.

I found this pattern (Simplicity 1773): focus on Dresses C and D (or the red and cream one)

Some plain white muslin

And some cotton with a slight pattern to it:
which I tossed into the washer with two bottles of dark green Rit dye.  Perfect shade of forest green.

Sunday I started the embroidery on the under dress.  I used Urban Thread's Elven Court designs:

The sleeves are a simple leaf cascade:

And the hem was two bands of leaf border and a leave cascade centered in the middle.  It turned out so well, it almost looked like I knew what I was doing.

The fabric got a little puckery under the embroidery because it's just muslin and that's some pretty heavy stitching, but I keep telling myself that this is a no-stress dress.  NOT a big deal.

Next:  sew underdress together and start embroidery on the overgown.